Magnetic lashes are still kind of new to the beauty scene so when I first heard about them I immediately got all giddy inside knowing the thought of never having to apply sticky glue to my sensitive eyelids ever again! So when I found a pair at my local drugstore, suddenly, all those nightmarish hours spent in the mirror applying crooked and janky lashes were finally behind me…boy was I wrong!!!
When I first started to look into this new beauty phenomena, all the lashes I had come across online were either out of my price range, or the beauty sites I’ve scouted out had a duty fee charge that was waaaay too ridiculous to cough up. I tried searching, throughout the city, high and low for any signs of magnetic lashes but ended up empty handed and succumbed to the fact that waiting for something new to hit the Canadian market is like that meme online where skeletons are sitting around the table with the caption, “my family waiting for me to get married” (coincidently enough, insert #currentlifesituation here.) If I’m truly lucky enough to find what I’m looking for out shopping, it’s either (a) sold out or (b) a red headed step child version of it. However, one day I happened to be at London Drugs and discovered off in the distance a display of magnetic lashes by Ardell. I almost lost my marbles, I couldn’t believe what I was seeing, a legitimate brand with legitimate stock! I scoped up a pair of the Double Demi Wispies and darted home.
After many failed attempts trying to get my new lashes on juuuust right I was getting nowhere. I must have spent hours in front of the mirror putting them on, nope not right, and taking them off–this insanity continued for a good month or two. My problem with the lashes was that I could never get them close enough to my own lash line, and if you’re like me, there was absolutely no way in hell you would leave the house wearing this poorly executed attempt for the world to see. Let me also add, ninja skills are a definite must if you don’t have the proper tools to apply them. I had such a hard time positioning the top ones correctly while simultaneously grabbing for the bottom lashes trying not to look down so the top ones wouldn’t fall off. I was really starting to become discouraged and frustrated so eventually I stepped away for a while to give myself a breather! One day I let my frustrations out to one of makeup artist friends’ and she said to me, “Jerrie, did you ever think about cutting them? We do it all the time with regular falsies” I was like oh great, dealing with multiple pieces now instead of just the two sounded like fun, not! She recommended cutting one pair into fourths. Her idea was a tad clever but also a tad ridiculous. I figured, well, you do miss 100% of the shots you don’t take, so I grabbed a bottle of vino, along with my lashes, and went home to experiment. Little did I know, I was onto something really goooood!
 Continue reading…this will blow your mind!!!
Ladies and gentleman, I can now proudly reveal that I have unlocked all the levels to achieving magnetic eyelash applicator status (about time) and I will share my *Yoda wisdom unto you.
What you will need:
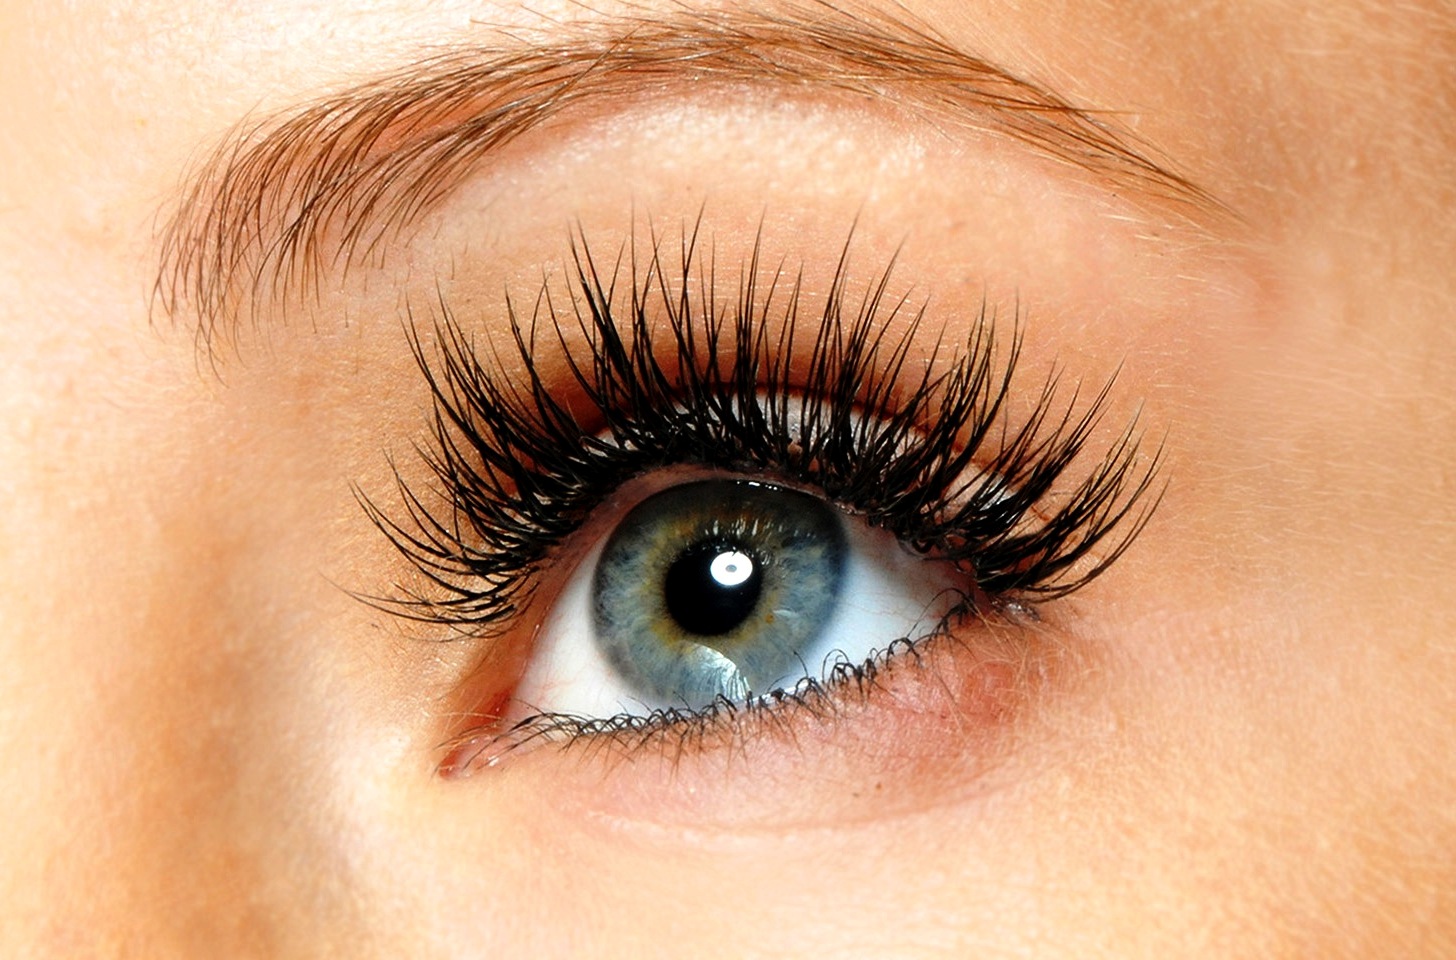
* A pair of Ardell Double Demi Wispies (I really like this particular one because they don’t look too overdone but pack a lot of volume) cost is around $18 CAD at your local drugstore.
* A stainless steel MAGNETIC eyelash applicator with a fishtail end (this is crucial because you want a round tip to go with the natural curvature of your eyelid and also make sure the applicator is steel because you want the lashes to magnetize) I bought mine on Amazon for $3.99 for two.
* Small cuticle scissors
* Red sharpie
* A mirror (duh)
And lastly…..PATIENCE!

Hack Steps
1) First you will notice an upper lash and an under lash for each eye. You will apply the upper lash along your top lash line and the under (you guessed it) below the lash line. Take a fine sharpie and mark ONLY the under lashes on one of the little magnets to help you differentiate between the upper and under. 
2) Now that you have distinguished the bottom from the top lashes you are now only going to cut JUST THE UNDER LASHES in half (remember the ones with the red mark on them?) Make sure you cut them precisely (do not cut part of the hairs, have them out of the way before you snip.) Once you’re finished, you will end up with ONE UPPER LASH AND TWO UNDER LASHES.

3) Now make sure you have curled your own eyelashes and applied a little coat of mascara to help with proper placement.
4) Take your steel applicator and place only the upper lash to the OUTSIDE of the applicator with the lash pointing inward.

5) Now hold it as close to your lash line as possible and take one half of the under lash (I like starting with the outer corner first, whichever you prefer) and magnetize it to the upper lash corresponding to which ever one you started with.
6) Remove the steel applicator and now take the last remaining under lash and magnetize it to the other half of your lash (your nails actually work quite well with this) and press down the upper lash.
7) To remove your lashes at the end of the day just gently rub them together away from the eye. A white towel comes in handy to spot your lashes just incase they fall on the ground.
Now repeat steps 1-6 with your other eye!
I really hope this hack was super helpful to you! I’ve always been uncoordinated ever since I can remember and I thought this was worth sharing with all you who are in the same boat as me!

Please let me know in the comments below if this beauty hack worked for you and if you would like to see more of my hacks on the blog!
Have a good day, beautiful!!
Love always,
Jerrie xx
*You want to know the difference between a master and a beginner? The master has failed more times than the beginner has ever tried.
Related

2 comments
Phyllis
October 28, 2018 at 7:50 pm
What informative and helpful information. Eyes express feelings & are one of the most beautiful parts of our face & these eyelashes make them even more beautiful & elegant. Love your post…pictures are awesome!
Cyrene Garbo
October 31, 2018 at 5:20 pm
I love this post!! I’m going to try your hack
Comments are closed.